
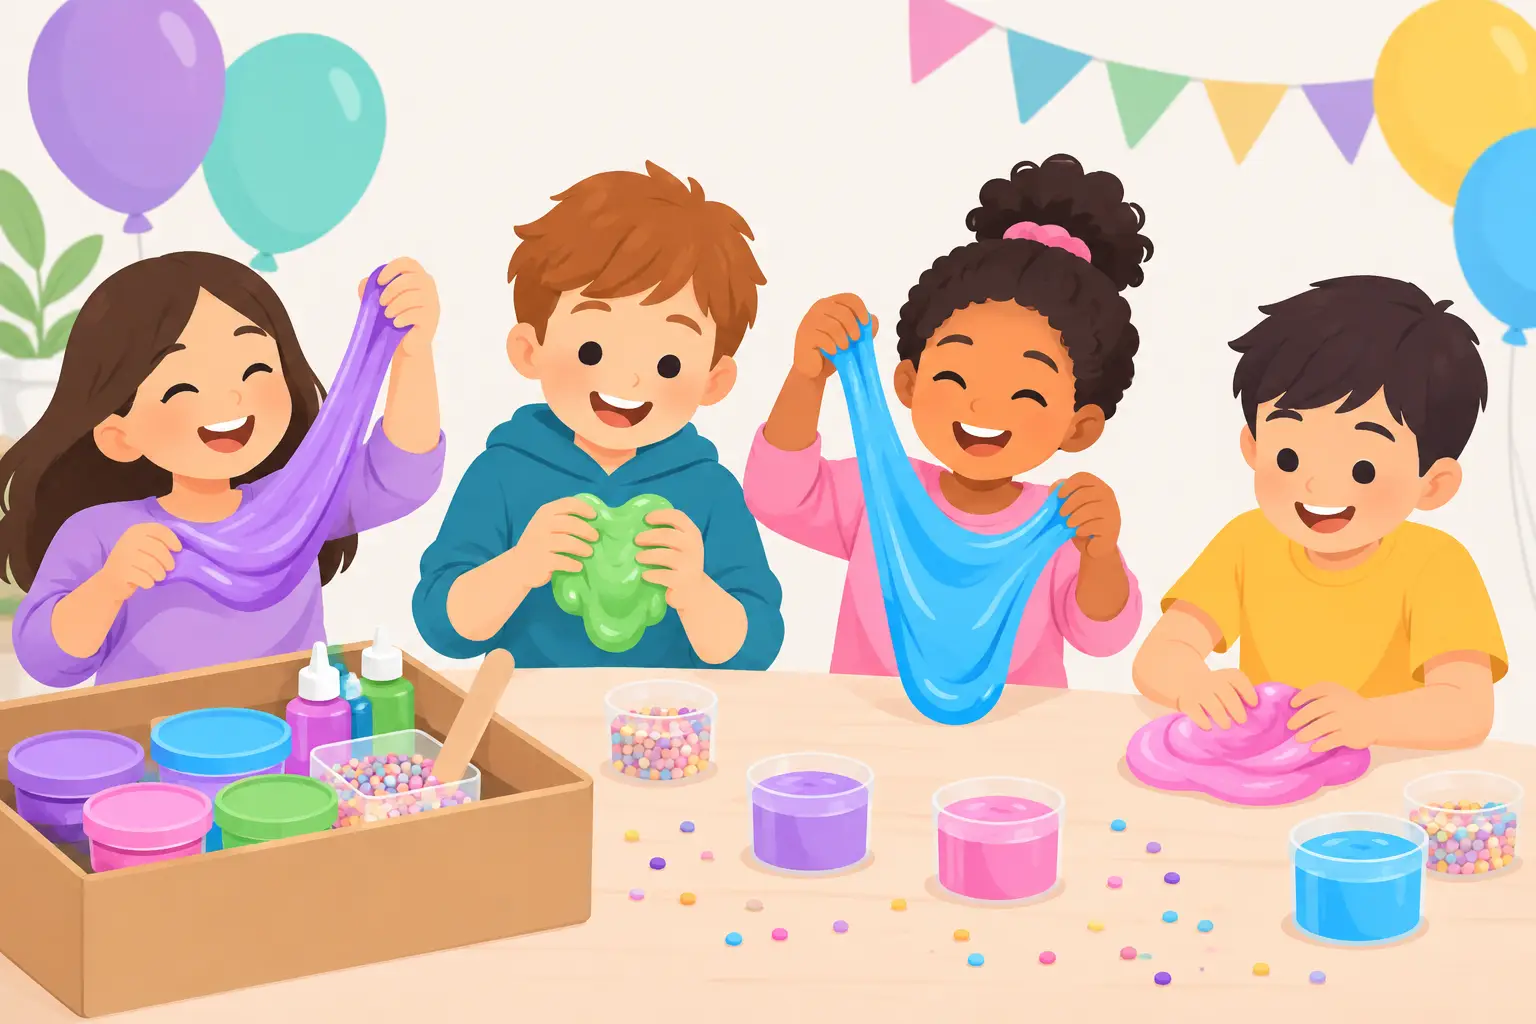
A birthday party does not need a bounce house, a packed schedule, and 12 different favors to feel huge. DIY slime parties to go turn one simple activity into the main event: kids get to mix, stretch, squish, customize, and leave with something they made themselves. Best of all, the excitement travels well – to your kitchen table, a community room, a classroom, or Grandma’s house.
Why DIY Slime Parties to Go Are a Parent Win
The best kids’ parties have a sweet spot: enough structure to keep everyone busy, enough creative freedom to make each guest feel special, and a setup that does not leave the host scrambling. Slime checks every box. It is sensory, colorful, delightfully messy in a contained way, and naturally social.
Instead of handing out identical goodie bags at the end, each child creates a one-of-a-kind take-home slime. One guest may go for bubblegum-pink cloud slime with heart charms; another may make a neon green, glitter-packed creation with a fruity scent. There is no wrong answer, which makes slime especially friendly for mixed ages and different personalities.
A to-go slime party also gives you flexibility. You can make it the entire party, add it as a high-energy station between games and cake, or turn it into a special activity for a smaller playdate. The right format depends on your guest count, space, and how hands-on you want to be.
Pick the Party Format Before You Pack
For a cozy group of four to six kids, a fully customized slime bar can feel relaxed and personal. Set out a few colors, textures, scents, and mix-ins, then let everyone make choices as they go. This works beautifully at home, where there is room for kids to linger over every sprinkle and charm.
For larger birthday groups, keep the recipe more guided. Give each guest the same base slime and offer two or three customization moments, such as choosing a color, a scent, and one texture. Fewer choices may sound less exciting, but it helps the activity keep moving and prevents every table from becoming a glitter blizzard.
A third option is the pre-portioned kit party. Each guest receives a labeled container with their base, mix-ins, and a storage cup. This is ideal for parks, school events, travel, or any setting where you need fast setup and fast cleanup. It also makes the experience easy to hand off to another adult leading the activity.
What to Pack for a Slime Party on the Go
The secret to a portable slime setup is not bringing every possible add-in. It is bringing a tight, exciting edit that looks amazing together. Choose a clear party theme first: candy shop, cosmic glow, pastel bakery, jungle juice, or a favorite birthday color palette. A theme makes the table feel intentional while helping you avoid buying random supplies that never get used.
For each participant, pack a lidded slime container, one portion of slime base, and a small mixing tool. Then create a shared toppings station with four or more distinct sensory choices:
- Colorants in easy-to-control squeeze bottles or cups
- Glitter, confetti, and themed charms
- Foam beads, clay pieces, or crunchy texture mix-ins
- Kid-friendly scents with clear labels
- Name stickers and markers for finished containers
Bring table covers, hand wipes, paper towels, trash bags, and a small bin for supply storage. These are not the glamorous parts of the party, but they are what make the experience feel easy instead of chaotic. If you are hosting away from home, pack everything in shallow, stackable bins so the supplies can go directly from the car to the activity table.
When choosing materials, consider your crowd. Younger children do best with larger charms and simple textures that are easier to handle. For older kids and slime fans, offer more trend-forward options like iridescent glitter, crunchy beads, or color-changing accents. Always label scents and ingredients, ask about allergies in advance, and keep slime away from mouths, faces, and very young siblings.
Set Up a Slime Bar That Feels Like an Event
A great slime station should invite kids in before anyone says a word. Cover the table, line up clear containers of mix-ins, and group colors that look good together. Add little signs with playful names such as “Galaxy Crunch,” “Strawberry Swirl,” or “Rainbow Pop.” Even a simple setup feels extra special when it has a little personality.
Give every guest a designated workspace. A placemat, tray, or piece of parchment paper helps keep add-ins from rolling across the table and gives kids a clear creative zone. Place shared supplies in the middle, with wipes and trash within reach of adults.
If you are expecting a lively group, set the slime bar in stages. Start with bases at each seat, then invite kids up in small groups to choose color and texture. That little bit of traffic control keeps the energy fun, not frantic. It also gives everyone a moment to admire one another’s creations.
Keep the Mixing Fun and Moving
Kids love choice, but they also love knowing what happens next. Start by showing a finished example, then explain the flow in three simple steps: choose your color, add your texture, and give your slime a name. A quick demonstration helps younger guests feel confident and gives older kids a launchpad for getting creative.
Build in time for the sensory part. The best moment is often not the first stir, but the stretch test. Encourage kids to pull, fold, poke, and listen for the crunch. Ask playful questions: Is it fluffy or glossy? Does it sparkle like a disco ball? Does it need more crunch?
If a slime gets too loaded with mix-ins, that is part of the learning. Offer a little extra base to help bring it together, or let the child give it a new name that celebrates the chaos. “Confetti Explosion” has a lot more charm than “I added too much glitter.”
For a group of 10 to 15 kids, plan about 30 to 45 minutes for the activity. That includes choosing, mixing, naming, and packing. A smaller group may happily spend an hour experimenting, while a party with cake, presents, and games may need a quicker version. There is no need to rush the experience, but a clear finish line helps you transition to the next part of the celebration.
Make Cleanup Part of the Plan
Slime parties are not mess-free, but they can absolutely be low-stress. The biggest rule is simple: keep slime at the table. Before the activity begins, let kids know that finished slime stays in its container until it is time to take it home.
Use washable table covers and keep a wipe-down station nearby. Have one adult do a quick container check before guests leave, making sure lids are secure and names are visible. If slime lands on clothing or a fabric surface, lift away what you can without grinding it in, then follow the fabric care instructions before washing.
Avoid bringing loose glitter to a location where cleanup will be limited. Glitter slime can be magical, but chunky glitter or confetti pieces are often easier to manage than ultra-fine sparkle. This is one of those trade-offs where the look you want should match the space you have.
When a Guided Slime Experience Makes More Sense
A DIY kit is a fantastic fit for crafty hosts who enjoy setting the scene. But if you want to be fully present for photos, cake, and the birthday kid, a guided slime-making experience can be the better call. Staff-led events take care of the materials, pacing, setup, and cleanup while guests focus on the fun.
At The Slime Kitchen, that hands-on magic is built into the experience. Kids can customize their creations with colorful bases, trendy textures, scents, charms, and mix-ins while the grown-ups enjoy a party that feels polished, playful, and genuinely memorable.
Guided events are especially helpful for larger groups, mall outings, school celebrations, and parties with a wide age range. You still get the big sensory “wow” moment, but you are not counting containers or peeling dried slime off a folding table afterward.
Send Every Guest Home With the Fun
The finished slime is already a party favor, so it does not need much extra. Add a name label, a small instruction card with storage reminders, and maybe a themed sticker. Kids love showing off their custom creation later, and parents appreciate receiving one meaningful take-home item instead of a bag full of tiny plastic extras.
For an extra-special finish, create a photo moment before containers are sealed. Let everyone hold up their slime and strike a silly stretch pose. Those bright, squishy snapshots capture the real point of the day: friends making something together, hands a little sparkly, and imaginations fully switched on.
Whether you pack a few kits for a rainy-day playdate or build a full slime bar for the birthday of the year, keep the goal simple: make room for kids to create, laugh, and proudly say, “I made this.”